We Shoot Photography Of The Day For 7/1/2019
Monday, July 1st, 2019
Click on image to enlarge. Click again to enlarge to full size.
Click on back button to return to post.
Click the “Home” tab above to see earlier posts.
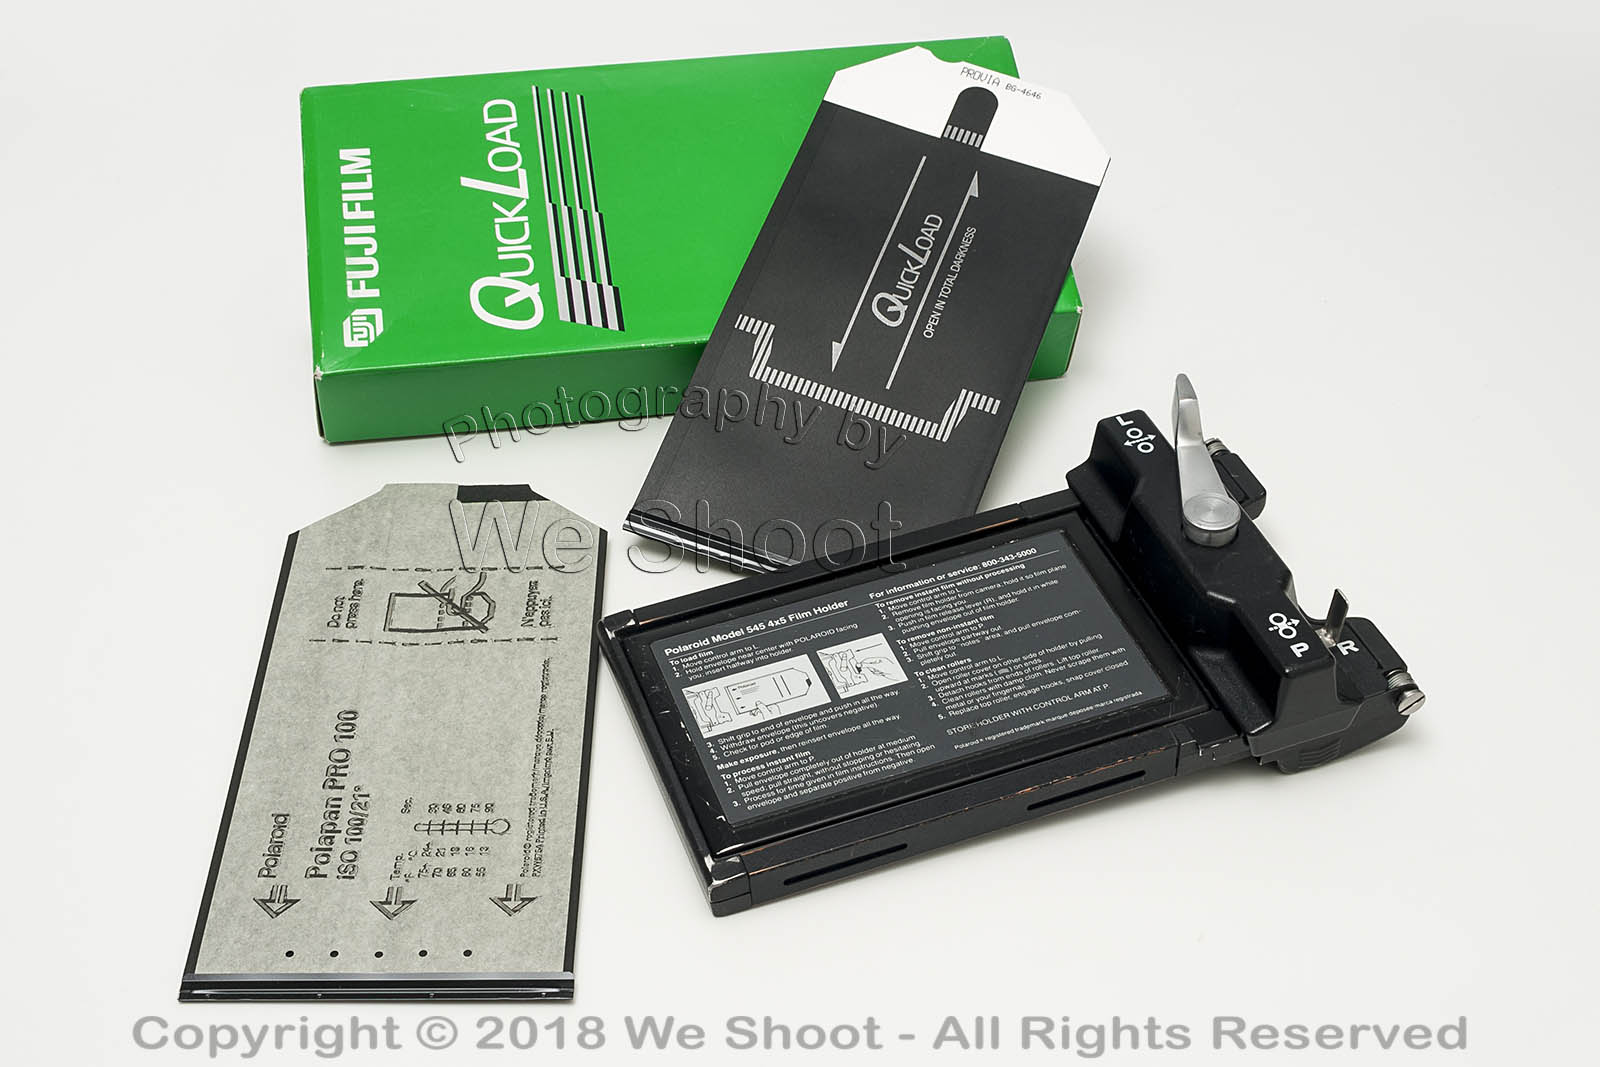
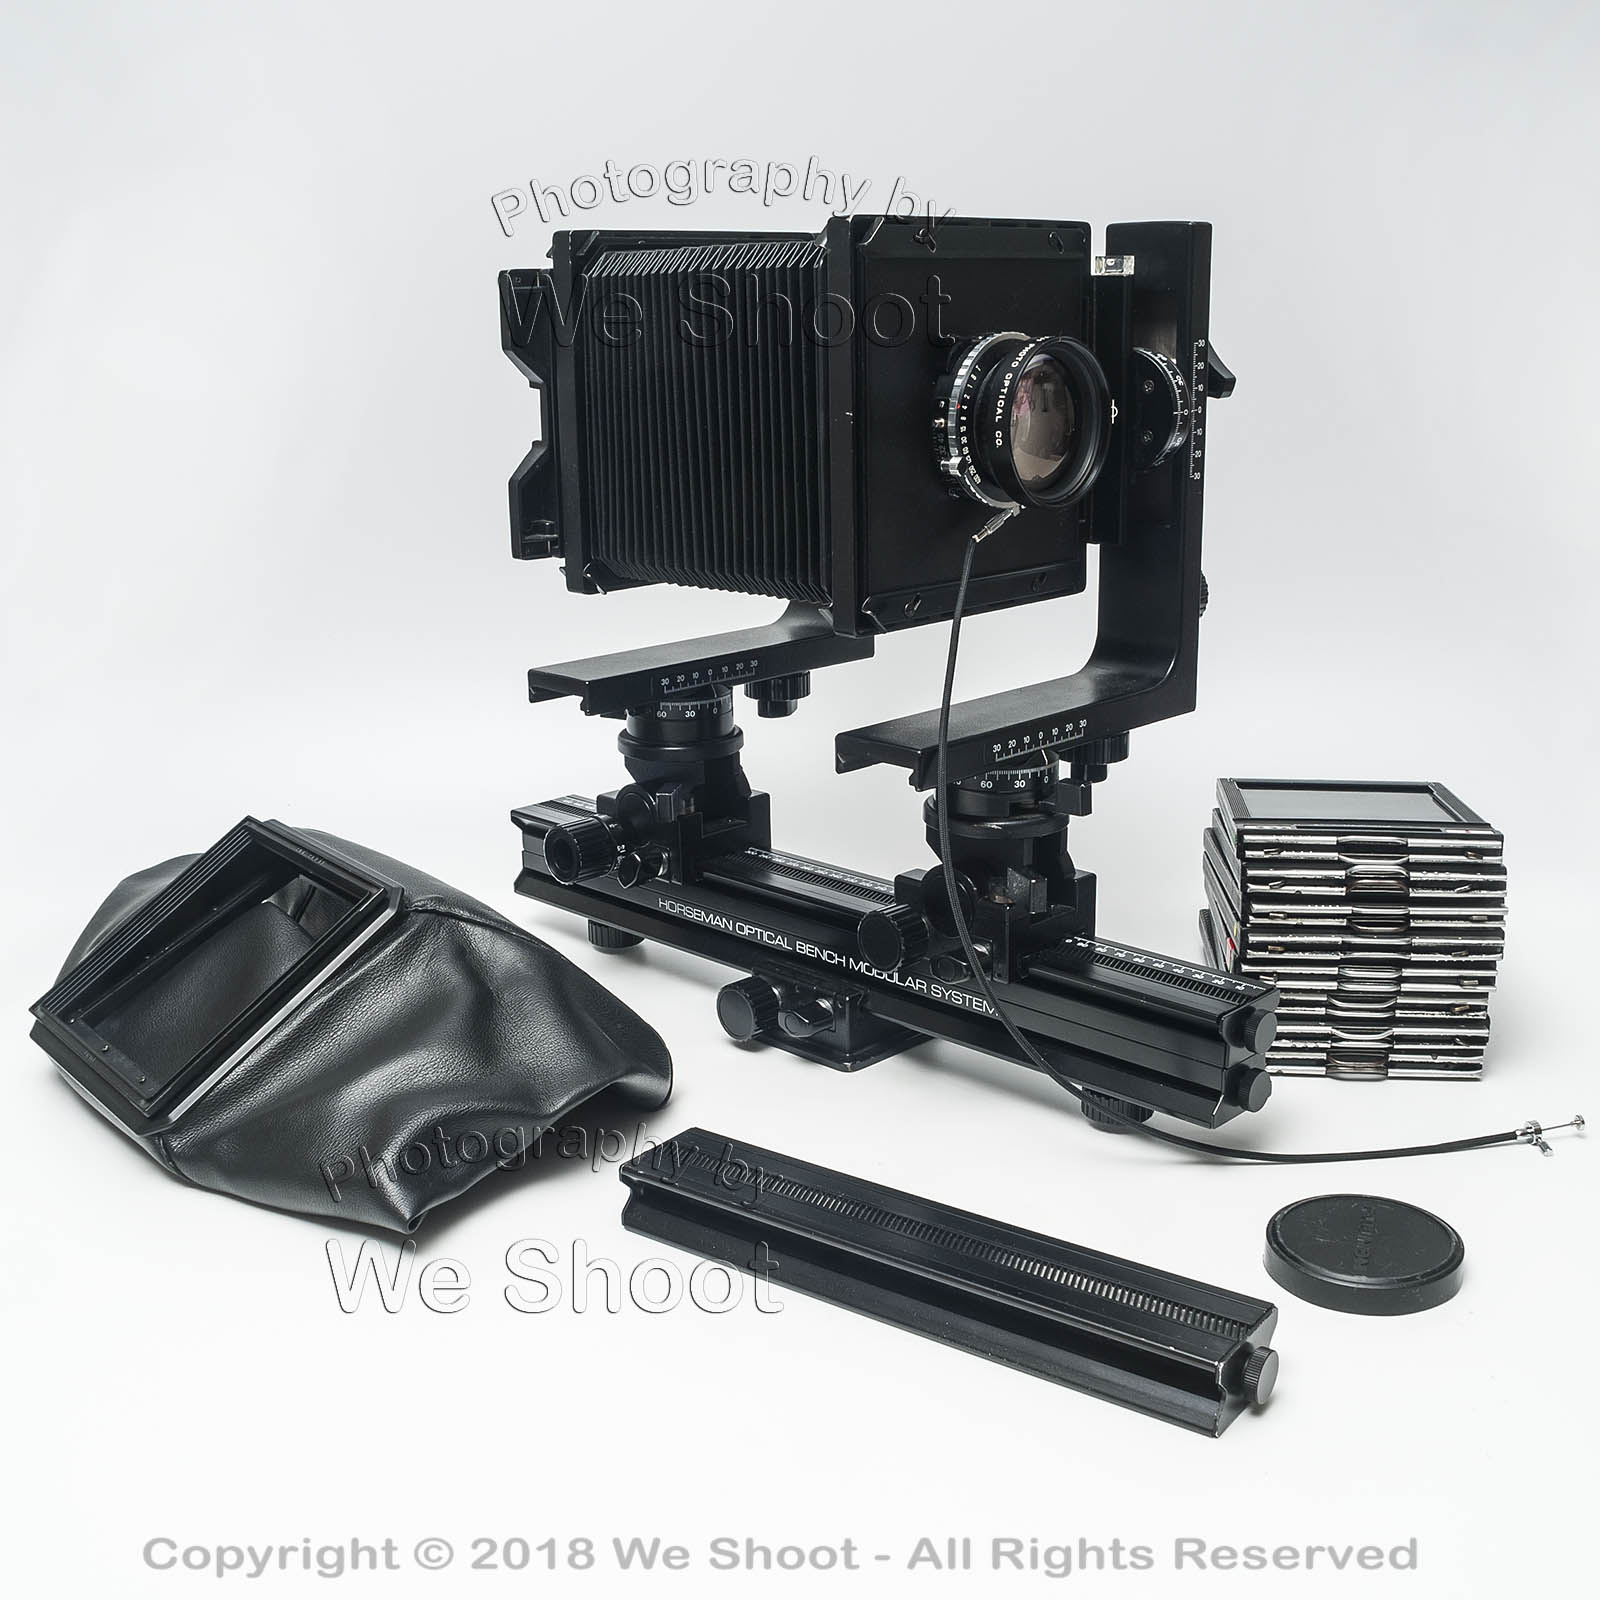
Seattle Product Photography by We Shoot
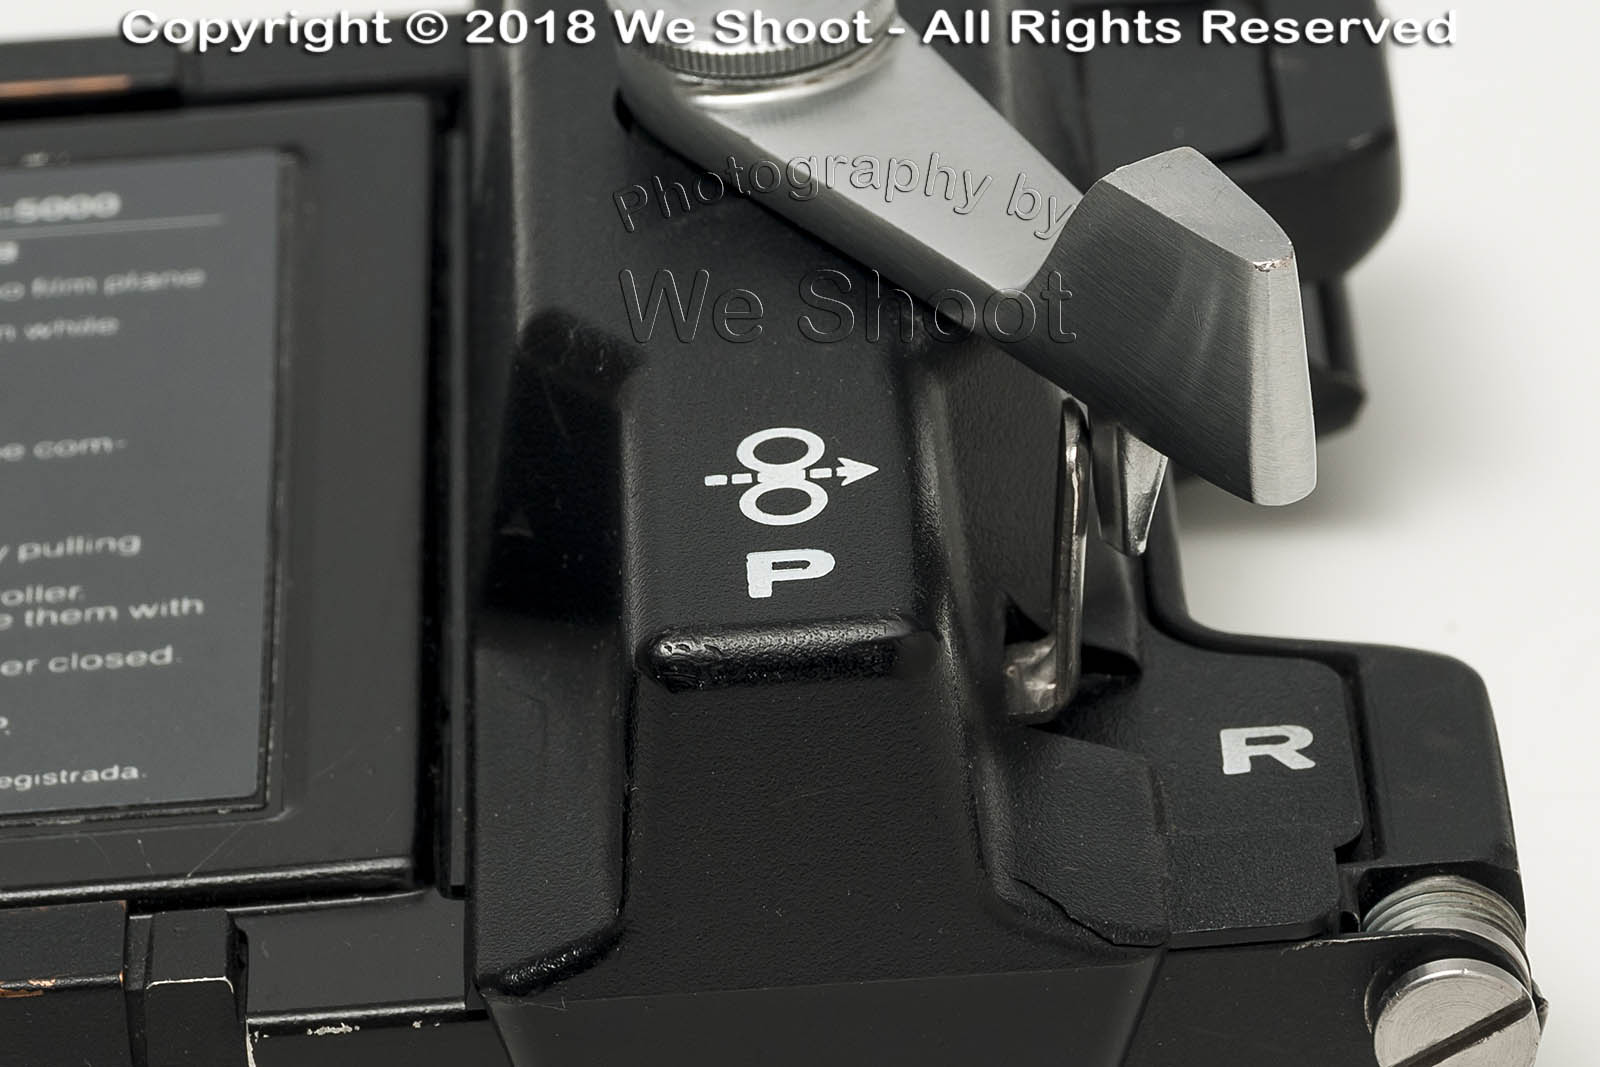
Polaroid 545 Back for a large format camera. Seattle Product Photography by We Shoot. The original high-resolution image is available from us on Alamy, ID # R0YJY6. Check out our Alamy portfolio at https://www.alamy.com/portfolio/652516.html .

