Our photograph of the day for 5/7/2015
Thursday, May 7th, 2015
Click on link to enlarge.
Click on back button to return to post.
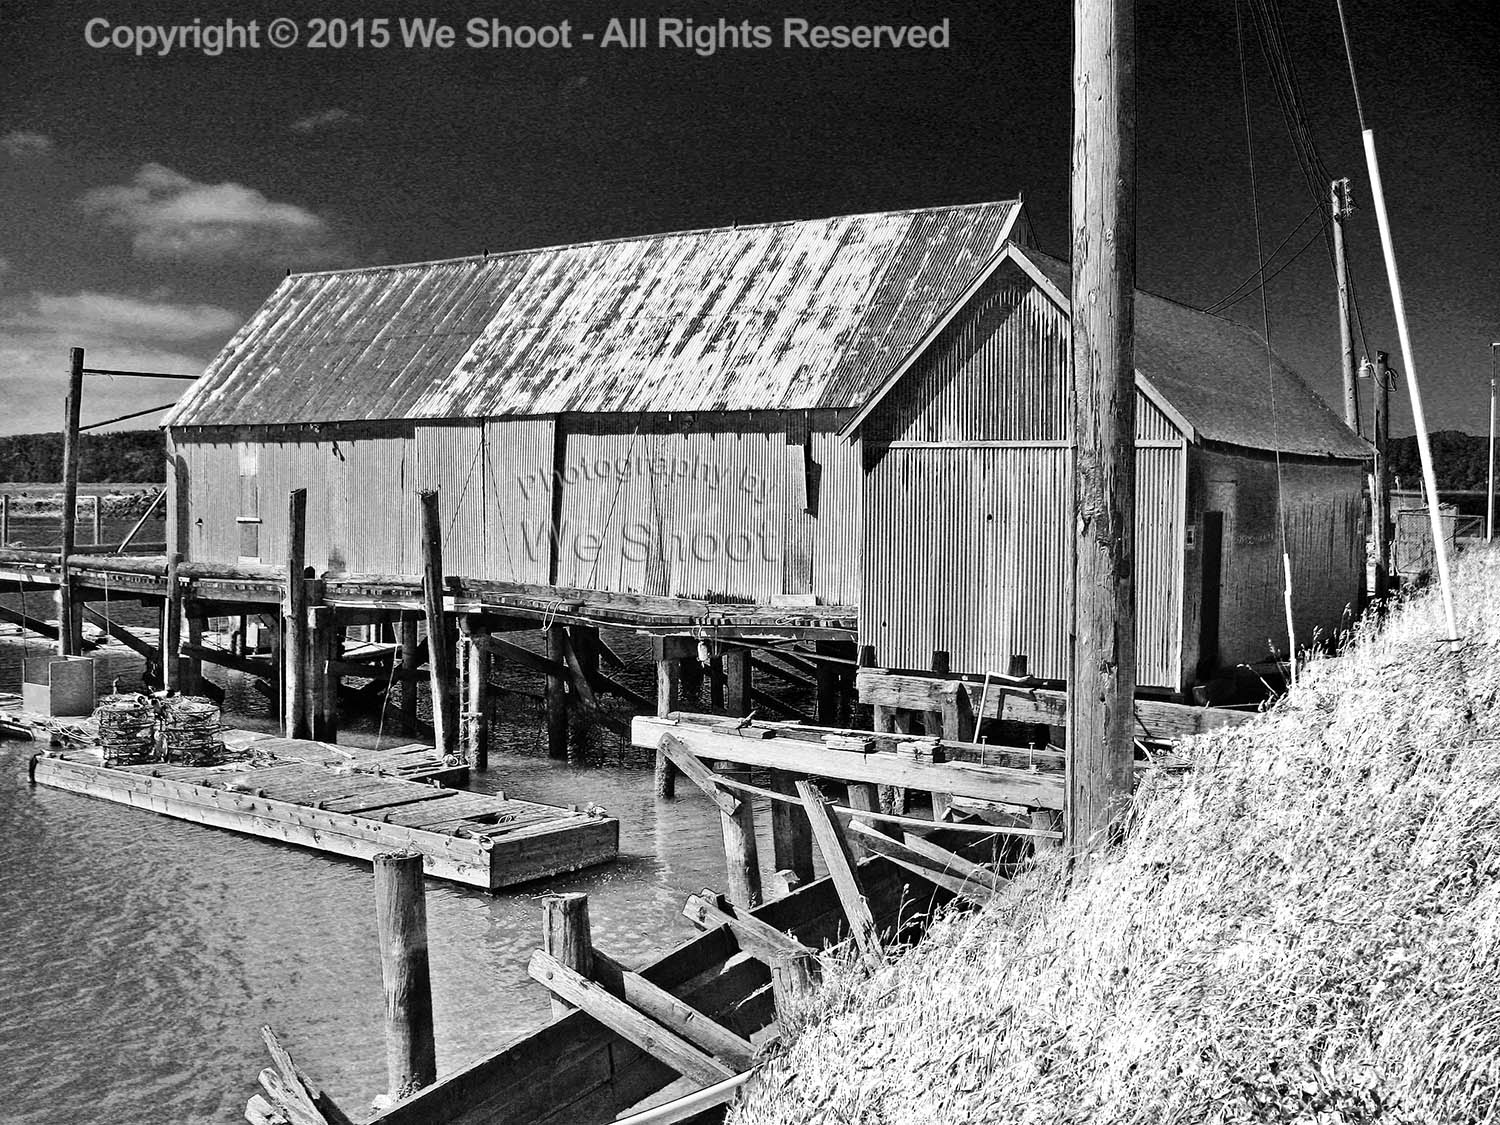
Black and white image of a boat shed on the water in Grayland, Washington by We Shoot
The Official We Shoot Blog
Friday, May 8th, 2015
Click on image to enlarge.
Click on back button to return to post.
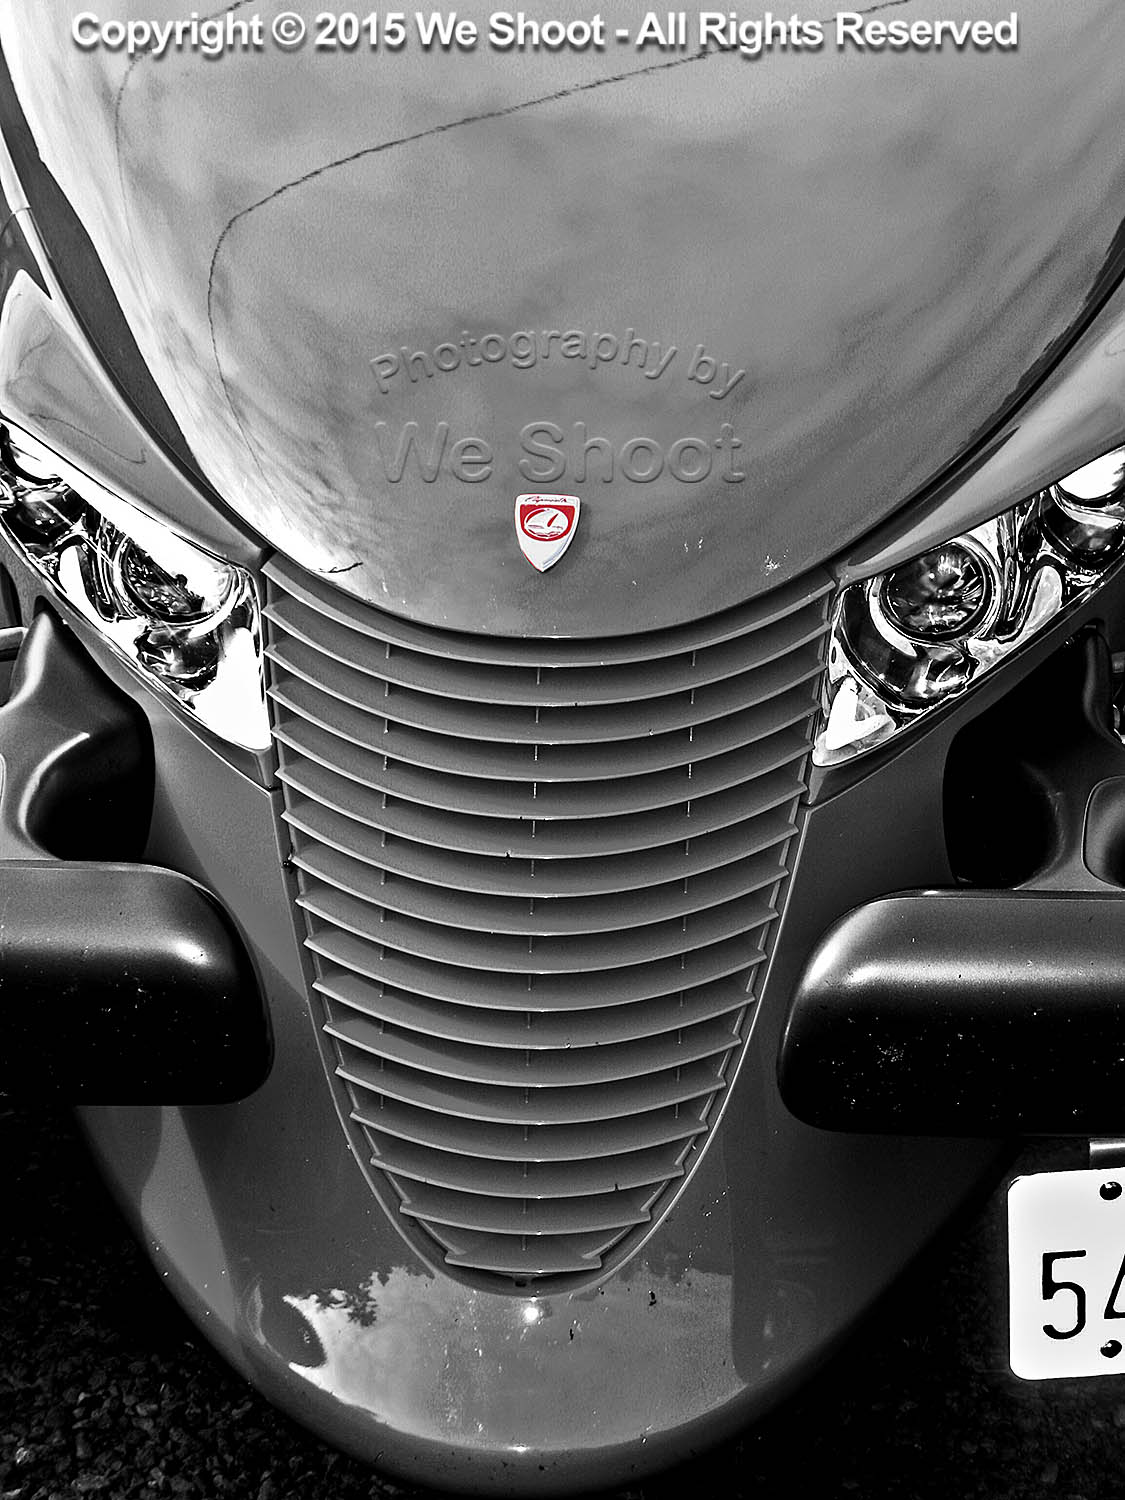
Selectively-colored black and white of Prowler automobile front end from We Shoot
Thursday, May 7th, 2015
Click on link to enlarge.
Click on back button to return to post.
Black and white image of a boat shed on the water in Grayland, Washington by We Shoot
Thursday, June 5th, 2014
The definition of “rebranding” from http://www.whatis.com is as follows:
“Rebranding is the creation of a new look and feel for an established product in order to differentiate the product from its competitors. Rebranding efforts may include a name change, new logo or packaging and updated marketing materials that includes the latest industry buzzwords. The goal of rebranding is to influence a customer’s perception about a product or service by revitalizing the brand and making it seem more modern and relevant to the customer’s needs.”
Sounds pretty good, doesn’t it? But, really. Rebranding. I mean, please. Is anyone as tired of this word as I am? Every way I turn I see it. I even think about it when meeting other business people. As a professional photographer, what often comes to mind is, “you definitely need to upgrade your imagery and do some rebranding.” I mean some of them SCREAM for it in the way they present their business. It is definitely apparent in the photography of their product and service presented from their website and collateral material. But does this mean that everyone in business needs to rebrand?
Sure, we can all use an occasional evaluation of our business. Who is our clientele? What is our focus? When do we exercise a new strategy? Where are we going with this business? Why did we start it? Yup, somewhere in there is the good old “who, what, when, where, and why.” The nucleus of journalism may apply to a business as well.
But should we hire a rebranding specialist? How about just sitting down with ourselves on occasion – say every 3 months – to ask five questions like the ones above. Make it fun. Be your own journalist. Set up an appointment with yourself every 3 months to conduct an interview, or interview your business partner, upper management, middle management, or your administrative assistant. Oh, wait a minute. This sounds like an old tried-and-true marketing meeting. How ‘bout that? You may have been doing it all along. Rebranding. And it didn’t cost you a penny.
For those of you – like me – who don’t schedule a weekly marketing meeting or a quarterly meeting to evaluate your business, begin now. Consult with the people you work with, the people who want your business to succeed as much as you do. From top to bottom. Involve everyone you work with, and you’ll not only come up with improvements to your business, you’ll come up with improvements to the most important business relations of all. The people you work closely with every day.
And don’t forget the maintenance people – or anyone in the business of making something look its best. If this last suggestion sounds funny to you, then you’re missing out on one important factor to a successful business. Objectivity. And you don’t have to hire a professional. Maybe it could be someone you know in an entirely different business than yours. Get their objective input. Or anybody who isn’t as close as you are to the challenge you face. This is especially applicable for a really small business.
Now get away from that computer and ask this simple question of the next person you see. “What do you think?”
– Dione Benson
Monday, June 24th, 2013
Sometimes it pays to do your homework. Don’t just read the headlines. Several times in the last few years, I have gotten some strange phone calls. One day, late in the afternoon, I got a call on our business line. A woman breathlessly asked, “How late are you open?” I was somewhat taken aback by this, as we are basically location photographers who have a studio, but do most of our work outside of it. We have used the studio for food and small product shooting, but our work is mostly on location: commercial, industrial, large product, and architectural.
So it was surprising to get a call like this, and I said to the person on the other end that we are open 24/7. Whenever a client needs us, we are there. Then the caller said, “Do you have an indoor range?”
I realized that this caller had only read our headline on a search engine, and typed in “Shooting Range” for their search. In the headline, a lot of times, our phone number comes up. So, instead of clicking on the link to get more information, they call our number.
I told the caller that the name of our business is We Shoot, that we are commercial photographers – the only things we shoot are cameras – and that our website is weshoot.com. She sounded a little sheepish and apologized for calling. And, she still hadn’t found a shooting range, which I assumed she was in a hurry to find.
In like respect, when choosing a commercial photographer for a project, see if they are what you are looking for. Many photographers who specialize in weddings also advertise for other types of work. Now, this is not to say that wedding photographers can’t do commercial work, but if you go to their website and the first images you see are wedding related or portraiture heavy, this is what comprises the bulk of their work. You won’t find weddings or portraits on our website. Just because we all use cameras doesn’t make us all the same. So, choose wisely for the type of photography you need – it can save you time and money in the long run. Then you won’t be going off, half-cocked!
– Gary Silverstein
We Shoot
Friday, February 15th, 2013
Product and other forms of commercial photography sometimes require the use of strobes. Strobes usually provide daylight color balance which helps with architectural photography as it allows a burst of light to light up a room, and use a time exposure to get the (daylight) scene outside a window so it looks like we see it. Otherwise, the sunlit exterior is blown out, or in some instances, it can look darker and drearier than the interior, if it is overcast outside. In the case of product, studio strobes are the powerful cousins of your on-camera strobes, and offer many advantages over the smaller units.
First, studio strobes are usually way more powerful, as they use very large batteries, 110v inverters, or wall socket power. Second, they are portable and don’t have to be mounted on the camera, and give a more pleasing look as they don’t “flat-light” the subject and can be made to mitigate heavy shadows. They are designed to work with many different accessories from umbrellas to soft boxes. They can use many different types of wireless triggers. They can generate more than enough light to shoot at tight apertures, allowing for deep depth of field. In product and architecture, I find that shooting with small apertures (f11 to f16) allows me to get everything sharp and in focus. If it is sharp in my original image, I can always create a shallow depth of field look in photo-editing software. However, the reverse is not true. Really soft images cannot be brought back into sharp focus even with the best of software.
All of the studio strobes I have used work with totally manual settings. I usually set my camera on a tripod at f11 to f16 at 1/100th of a second or slower. The strobe light burst lasts for a very short time. This eliminates most movement, but how do I bracket under those conditions, since I don’t want to change either the shutter speed or aperture once I start shooting? The answer is in the manual controls of the studio strobes. Once I get my best-looking exposure of all elements by shooting and rechecking the image, I plan on shooting a series of images bracketed on either side of that exposure by working the slides or dials on my equipment, usually in half-stop increments. I may be using as many as 3 or 4 lights at different angles, and each will need to be adjusted individually for each exposure. This gives me the same object at the same depth of field at the same shutter speed from a dark exposure to an overblown exposure. Why would I want to do this? I can then pick and choose the best exposed parts of the object or room and using an editing program, such as Adobe Photoshop, I assemble them to make a perfectly exposed object with detail where it needs to be without any noise. I can also make an HDR image from all the exposures, if that gets me a better-looking image.
Being a commercial photographer means getting the best satisfactory image for your client. A commercial photographer having the right equipment and expertise means leaving very little to chance.
– Gary Silverstein
We Shoot
We Shoot is a commercial product, food, industrial, and architectural photography team based in the Seattle area.
Wednesday, January 16th, 2013
In my last post, I discussed bracketing of exposures. Today, let’s talk about bracketing with hot lights. Hot lights are a continuous lighting source and should be regarded as available light, just sometimes very intense, and very bright. A majority of hot lights are of incandescent color temperature, adding a warm or yellow tone to your image. In most modern DSLRs, there is a setting for tungsten or incandescent light which compensates for the warm tint by adding a blue or cyan tint to the image.
Instead of using the incandescent mode in the camera for white balance, I prefer taking one exposure with a gray card in the image and setting the gray reading for all the images I take in that series with my editing software. Outdoors, my cameras are very accurate, so the automatic white balance setting works just fine. Indoors with a mix of lighting, a gray card or an Expodisk is the ticket.
Now, back to bracketing with available light and hot lights. My cameras will do up to nine bracketed shots (different exposures of the same image) automatically. Some cameras only allow three images for auto bracketing. If you desire more exposures for either HDR (High Dynamic Range) images or for layering the images with these cameras, the way to facilitate that is to do it manually. As in my last article, adjust the exposure by putting the camera in aperture-priority mode, setting one aperture and changing the shutter speed to bracket various exposures. My choice is to use 2/3 of a stop difference for each of my brackets. You may like 1/3 stop, 1/2 stop, 1 stop, or ? bracketing stops instead. If doing this manually, try to get one optimum exposure, i.e. the one picked by the camera as the overall best exposure, and make the same number of exposures brighter and darker on either side of the optimum exposure. Also, if doing it manually, you will have to put the camera on full manual for exposure, then set your aperture where you want and vary the time for the brackets.
The reason for bracketing is that the latitude for digital images is about 5 stops with detail and no digital “noise.” When lightening darker areas in a digital image, one sometimes runs into noise, either color noise which looks likes flecks of red, green, and/or yellow in that area, or luma noise, which looks like flecks of black snow. Noise is usually unacceptable in commercial work and for stock images. The answer is to bracket and take images in which even shadow areas are light enough to have detail without the need to lighten them, and to blend them into the finished image, either with HDR or layering and masking in computer-editing software. Conversely, blown-out areas of one image can be recovered from a darker bracketed image, and give detail to blown-out areas.
In summary, bracketing with available lighting or with hot lights is basically the same, and white balance should be checked and adjusted should the need arise.
-Gary Silverstein
Monday, October 1st, 2012
In the days of film, a professional commercial photographer had to be very careful of the backgrounds that would be used in his/her images. Retouching was expensive. Shooting an item for use against another background from the one it was taken with could be a labor-intensive multi-step process. A spot on a high-key (pure white) background could be touched out on the negative, and a nightmare undertaking on a transparency. Today, of course, images are taken digitally and manipulated by editing programs, like Photoshop. One of our most recent shoots involved large, heavy industrial products. In film-days past, we would have probably used a seamless white background to shoot the product and spent a lot of time with product placement. The items to be photographed were round, between two and three feet in diameter, and each weighed 500 or more pounds. Five views were to be taken of each. That means that either the item would have to be moved on the background, or very carefully lifted by a hoist onto the background. We would have to be careful of marks left by the items where they rested on the paper, and some method of keeping such round items from rolling off the surface would have to be employed and kept out of sight.
So, pre-planning for the shoot is still important, even in this digital world. We opted to not use any type of manufactured background per se, but to only use white reflectors in strategic places to reflect light or add a highlight where we desired. Not using a background simplified the lighting somewhat in that a roll of paper or fabric didn’t block out the light from behind each item. We were going to photograph the items in the factory environment with the idea that we would isolate the image in Photoshop, and put it on another, more desirable background.
Lighting was done with our powerful studio strobes, and the modeling lights on the strobes gave us an idea of how the lighting would look in the finished image. We shot with soft-boxes to give a square look to our lighting in the highlights, as umbrellas just wouldn’t cut it here as these products were light-reflective. We planned to keep the camera stationary, move the lights as necessary, and rotate the product for the five different angles the customer required. Since the objects were circular, and we wanted to keep all the images the same size, we had to plan how to keep that proportionality. Think of a coin stood on edge. The widest the image would have to be is a little more than the diameter when one of the faces of the coin is toward you. When the edge of the coin is nearer to you, the size of the image could change, but we wanted to make them all the same size for the client’s ease of putting together several views of their product. Also, we had to be far enough away to assure depth of field when we were shooting the views that showed part of the object furthest away. Editing programs have great sharpening utilities, but a severely out-of-focus image cannot be brought back. You can easily blur parts of a sharp image and make it look good if needed for the effect, but the reverse isn’t the case. So all this had to be figured out in advance.
Now, let’s go on to the backgrounds for the images. Since the area or table on which the items were shot was in a fixed location, the background for each image (as produced by the camera) would have been a toolbox and other parts of the assembly plant. So we made it so that we and our client could “lift” the item off the background and put it on any other background or even a video. This is done by means of a “clipping path.” This is a very labor-intensive process. It means that I use a Photoshop tool to painstakingly trace out every edge of the product at anywhere from a 100% to a 300% enlargement. Once I have outlined every hole, edge, and cranny, I “select” the item alone and make a layer of it to put on other backgrounds. I include this clipping path with the image, so the client is able to do the same. Now, you may ask why I do so much work, as some of the editing programs have become pretty sophisticated and make an easier selection with other, faster tools. Well, the answer is this: I have used these editing tools, and sometimes there are errors in the program choosing what is part of the item and what is not. It may not be noticeable on a small jpeg on a website, but it will stick out like a sore thumb on a 30X40 enlargement at a trade show. That is what separates a pro from an amateur. Below are an original view of one of the products, and a few different backgrounds that I feel work well. Each background below was created in Photoshop, but other backgrounds could be used, as well. Remember that whichever one a client chooses, I include the clipping path so they can put it against another background if that is their need.

As you can see, the product image looks at home with any of the backgrounds. Keep this in mind as you plan your next shoot.
– Gary Silverstein
Thursday, June 7th, 2012
The blog you are reading is a WordPress blog. If you read the last post on our blog in the recent past, you would not have realized that it had been hacked, because it was invisible. Don’t worry, it caused you no damage. It only caused us damage.
First, some background: I had installed an earlier version of WordPress back in 2010 on our photography website as it is good for SEO to have a blog inside the domain, and for informative purposes to our readers. Then, a banner came up from WordPress that an updated version was available and that I should update. Anyone with experience in computers knows that updating can go seriously awry and you could lose all your posts or information, and it is best to back them up. Of course, this is time spent, and no one wants to do all this preventative work, but I grudgingly did that with the help of my hosting company, and did the upgrade to version 3.1.3 or something like that . I clicked on “update” and held my breath, and it worked.
About 6 months after that, I got another notice that a newer version of WordPress was now available with more security (I forget which number). I thought, “Oh, boy, here we go again,” and went through the motions again. This time, it didn’t work. The update notified me that the server our website was on did not have a high enough PHP protocol, and that the update could not take place. So, I left it where it was at. I called my host and they said that the server I was on did indeed not have a higher PHP and that I would have to move to another server, and there was a procedure to do that, and I would have to put it in writing that I wanted to move to another server. I didn’t want to hassle it, reasoning that I would see if anyone hacked the blog, as it would obviously show up in the blog reading . . . or would it? I have been getting warnings from my Google webmaster tools account that I needed to update my WordPress for security reasons. I just shrugged it off. It was too much work.
I went to my Google webmaster tools site last week, and updated the XML sitemap to our website, and while there, I thought I would check the optimization for keywords. I was very upset when I found words of popular drugs for ED in my keywords, along with a pet supply store. I didn’t put them there!
How could anyone put them there? I have a reasonably strong password, and I don’t give it out. So I went to check out where they were in the blog. Lo and behold, when the blog posts were in edit mode in HTML, there they were, plain as day. But they were invisible to anyone reading the blog on the web. Someone or something had inserted HTML links interspersed with my text, some even intersecting words, but not showing up in the blog. I called tech support at my hosting company. The person I talked to could see the intrusion, and told me it was due to a low PHP protocol and low security in the earlier version of WordPress. I asked him why anyone would do that, seeing as how there was nothing to click on or any change in the visible information in the blog. His opinion was that the links were inserted for backlinks to other websites for their SEO. One of them was a pet supply house. So, somebody had hired someone to do their SEO or web work and they hack WordPress blogs to increase the SEO of their clients. Pretty underhanded! It can have the result of lowering the weshoot.com page rankings.
So, my path was clear. I formally asked in writing that all my domains be moved to a more secure server with as high a PHP as possible. It took a couple of days for the move to solidify. I backed up my domains in a full backup. I updated to the newest version of WordPress. Once everything was complete, I spent a whole day removing all the inserted HTML code from each old post (sometimes they had more text in their links than I had written in our posts), and will be very vigilant from now on.
If you have a WordPress blog, take a look at old posts in HTML from time to time. You may get a surprise. Update to the newest version of WordPress ASAP. Weshoot.com is lucky. We have a cooperative hosting company and they had a more secure place for our website with a higher version of PHP. Make sure that your hosting company does, too.
-Gary Silverstein
Thursday, May 17th, 2012
I received a call from a web designer the other day. He had looked at our website at http://weshoot.com and decided it was too “plain” and that it needed his touch to make it work. I responded that I am quite happy with our website, and that it does already work. It is easy to navigate, with no delays in loading. It doesn’t have much flash, so much of it is viewable on almost all mobile devices. Yeah, maybe it’s not as fancy as some other photographers’ websites, but you can view all of our sample images at your leisure without waiting for the slideshow to bring around the image you want to see. And above all, it is visible and we get calls and emails from all over the country inquiring about our photography services. Visibility matters. The best website ever made will not get many visitors if it is on page 65 of a Google search.
What makes it visible? It is called SEO or search engine optimization. You have all heard it before. If you have a business website on the web, you have undoubtedly received a multitude of emails and phone calls, all touting services that can get you to the top of the first page of Google and other search engines. It doesn’t matter to these people if you are already there. What it basically comes out to is that most people type in a three-word phrase to find what they are looking for. Something like “seattle product photography.” As you would see, we come up somewhere on page one.
It takes a lot of work to get there. I have a professional help make this a reality. I help with my knowledge of some website development and making sure to post to social sites to help boost our SEO. My SEO pro and I communicate often when changes to the website are needed and when they have been completed. Even having a blog helps SEO.
So, the bottom line is: If you need to budget for your website, go with a little less fanciness and spend instead on real SEO. Make sure you get a pro to do your SEO. If someone guarantees you that you will be at the top of page one, you’d better be in a business with no competition, because no great SEO pro will make that claim.
If you need a great SEO professional, drop me a line via our contact page on our website at http://weshoot.com.
– Gary Silverstein
Sunday, March 18th, 2012
I think that video and animation is something that stills photographers have to become more aware of in order to be competitive. One of the areas is simple animation of still photographs. Fortunately, Photoshop CS5 has an application within it to take your still photo and make a short animated video that can keep on running on your web page to attract attention. Older versions may have this capability also, but since I no longer have any of them available, I can only speak to what I have. (See the image below to get an idea of what can be done.) I have used the header image from our We Shoot Facebook page at http://on.fb.me/kH0Ozp to make a flashing “Eat at Joe’s” type of billboard for this purpose. There are three transitions: First, just as a collage; second, “Call Now” is added; and, third, our phone number is flashed over our name.

I won’t go into how to make such an animation except to say that you go into the menu at the top of Photoshop and pick Window>Animation. You can look up how to use this in the help menu, or go to Vimeo or Youtube to get step-by-step instructions on how to carry this out. If you already have a knowledge of timelines in slideshows or video editing programs, you are already on your way.
BTW, the file size can be made relatively small, and take almost no time to load. The animation will not work on some web pages, such as on Flickr, but will work elsewhere, and unless you have it blocked on your own website, it will probably work there. As you can see, it works on this blog.
Have fun.
-Gary Silverstein
We Shoot
Copyright © 2024 - weshoot.com | Entries (RSS) | Comments (RSS)
WordPress theme designed by ![]() web design
web design