We Shoot Photography Of The Day For 3/16/2016
Wednesday, March 16th, 2016
Click on image to enlarge.
Click on back button to return to post.
Click the “Home” tab above to see earlier posts.
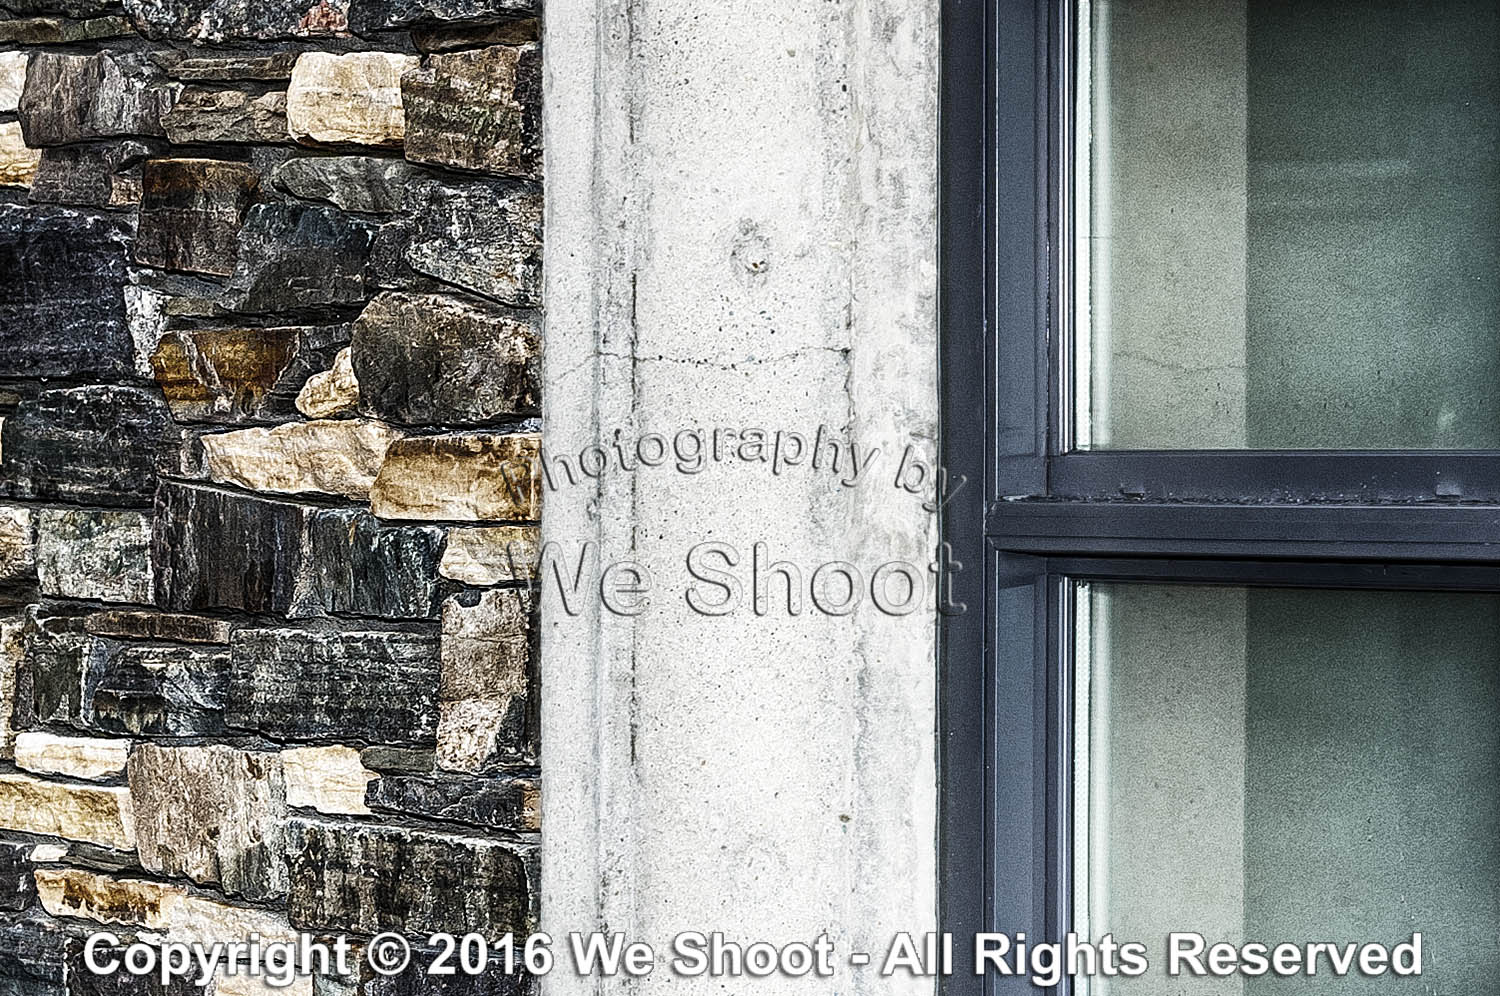
Weathered architectural image with different building materials. Seattle Commercial Photography by We Shoot.
 Although it looks sharp as a small image, there is unacceptable camera movement evident in the full-sized version. Harsh shadow at the top of the paper. Loss of light away from the center, and all the color is off. No styling is evident. This was just the way the food was delivered. Yet I see images on FB worse than this with someone saying “yummy” in the comments. I then try the somewhat same shot using room lighting, without the strobe. See the sample image below:
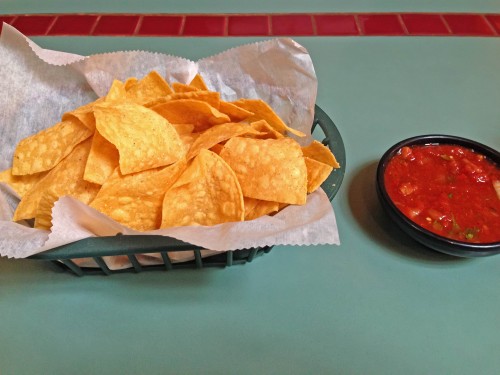
 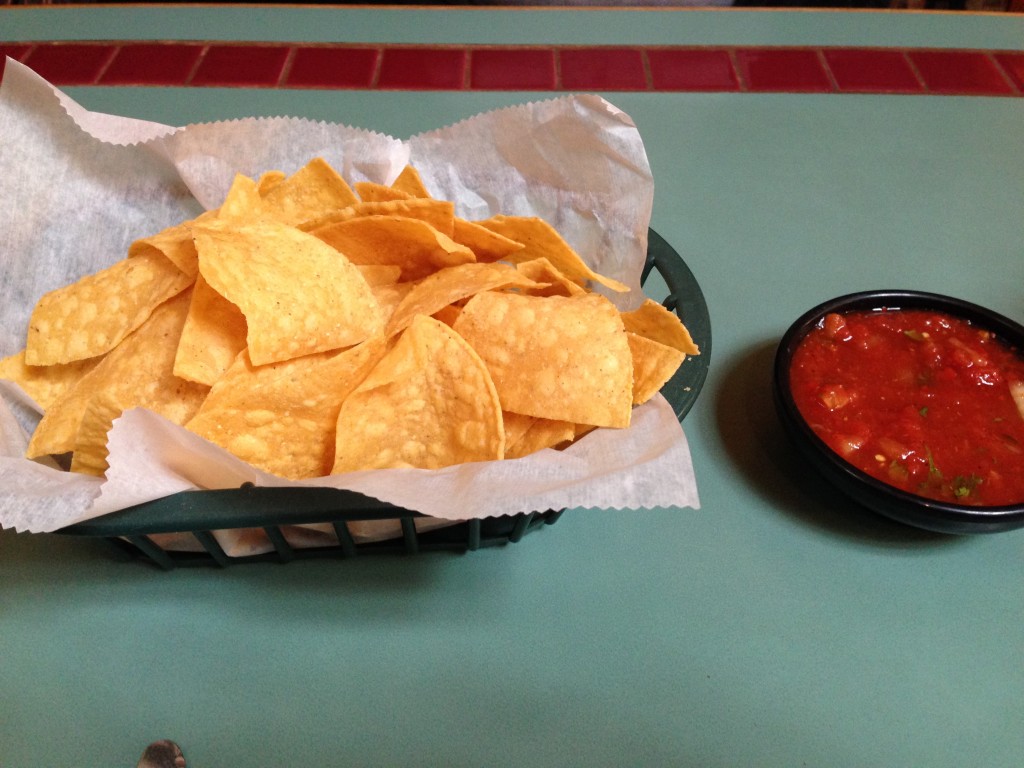 While in-focus and more appealing color is evident and lighting is more even, the shadows are still way too heavy, caused by non-diffused room lighting. The position of the camera is dictated by my seating. I can’t get far enough back to get the chips and salsa in the frame. The tip of my silverware can be seen at the bottom of the image. Remember that I am shooting as most people do who post images online, not as a pro. There will be no styling. Next, I take the image and put it through a little Photoshop massage. It comes out looking like this:
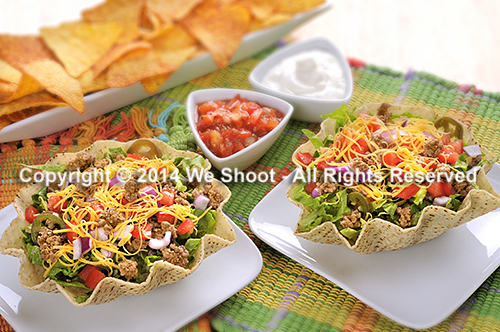